Hero Arts My Monthly Hero Kit - August 2023
The Hero Arts’ Kit for the month of August was very easy to use and I found myself making 10 cards this month instead of 5. (See my YouTube video linked at the bottom of the post)
For the first card, I used a Tim Holtz Sizzix die set (Stacked Tiles, Hexagons) to first cut out three blue shapes. The same dies were used to cut out small parts of the kit’s images. Then the two layers were glued together. The sentiment was embossed with the embossing powder that came with the kit. So easy and clean!
For this card, I again simply cut out parts of the kit’s die cut images, this time using a dotted circle die and then glued them down to a blue cardstock background. The mountain tops were coloured white using a Pebeo paint pen. Again, the greeting was embossed and cut out using my scissors to create a slanted edge
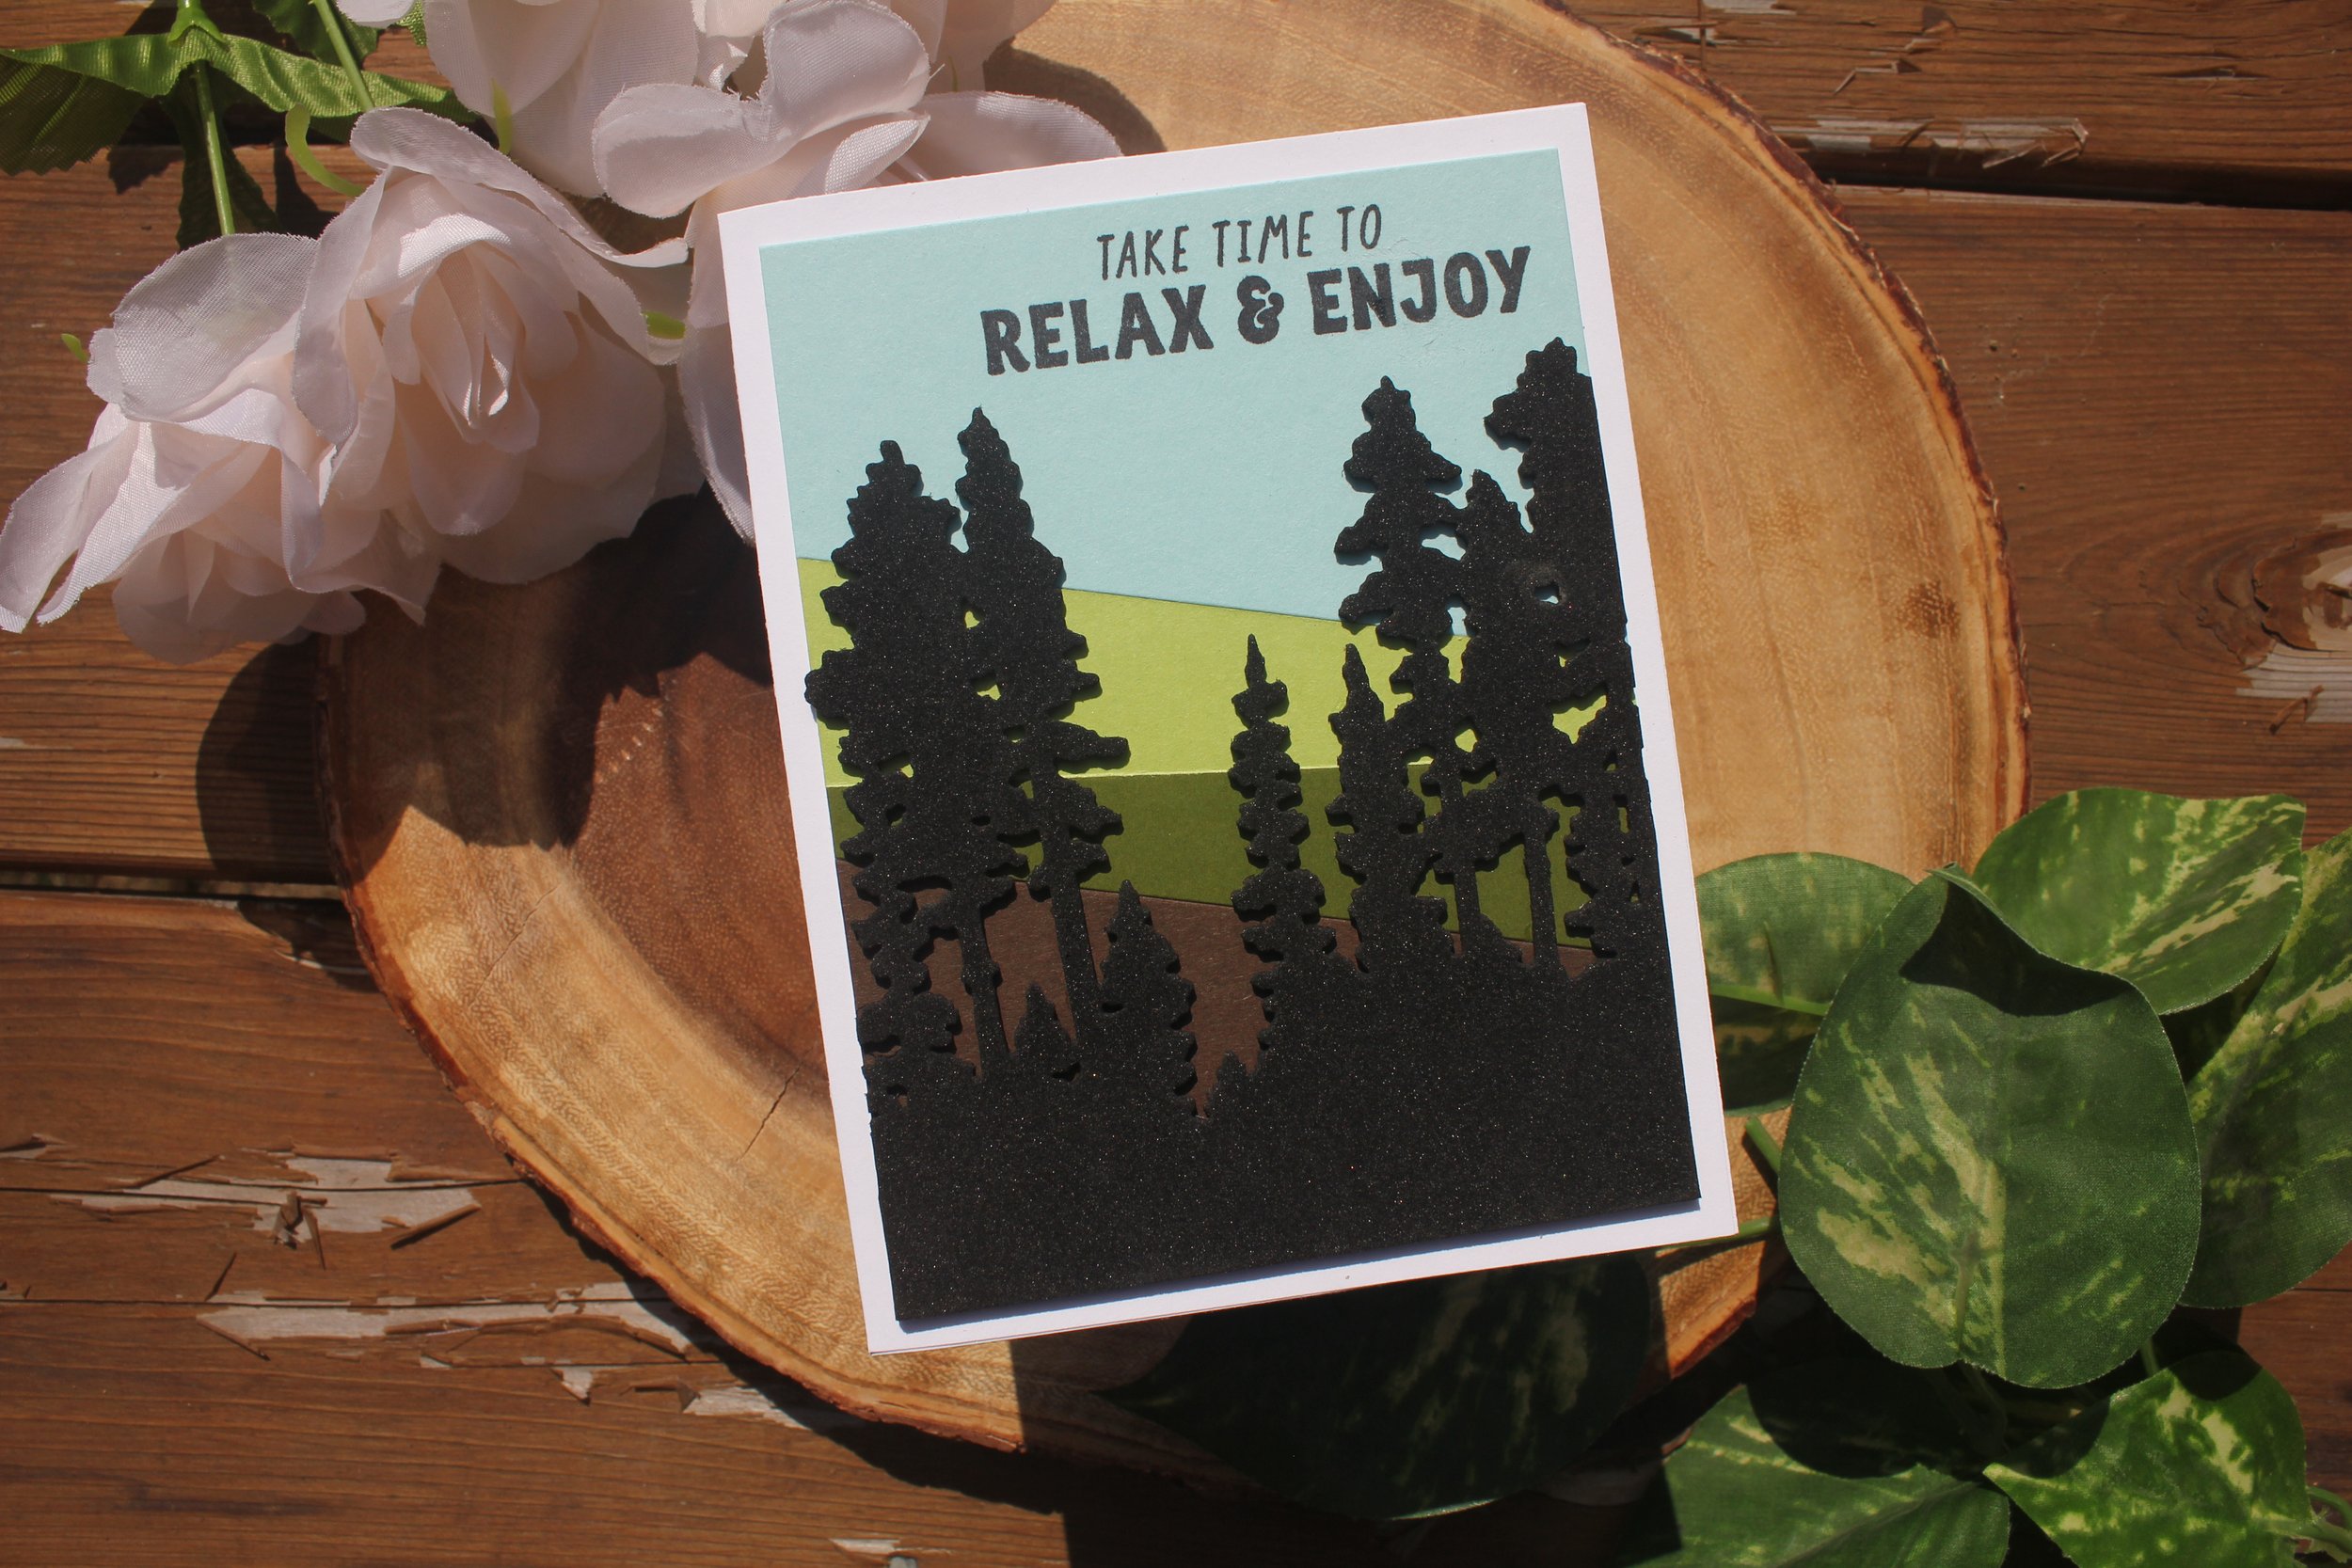
For this card, I cut the trees out of black foam to give some dimension to the card. The background is comprised of various colours of cardstock cut on an angle (I tried to roughly cut a triangular shape) and glued down. Did I mention how easy these were to make?
For this one, I cut some more trees out of foam and then cut the foam vertically to include only a few trees. I spattered white paint on the black cardstock background and then cut out a black cardstock circle to resemble the moon. I doused the top of the circle with glue and then added the glitter that was included with the kit. I also added some shading to some parts of the butte die cut using a pencil crayon.
For this card I used the Hero Arts heart shaped nesting dies to cut out a green heart and coloured one of the stamped floral images with my Derwent coloursoft pencil crayons. The sentiment was cut out with a die I bought too long ago to remember where I got it. (lol) The sentiment is popped up with some foam tape for dimension and the edges were brushed with a little black ink to create a border.
For this card I drew lines with a ruler and a micron pen (see my video linked below for a quick demonstration). I coloured the sections with a pencil crayon before I added the sentiment, which I stamped in black Versafine ink. The floral arrangement was again coloured with the pencils, die cut, and then placed upon an oval stitched die cut. For the border, I used a leftover frame from a die cut “double stitched” rectangle card front that I cut out for another project.
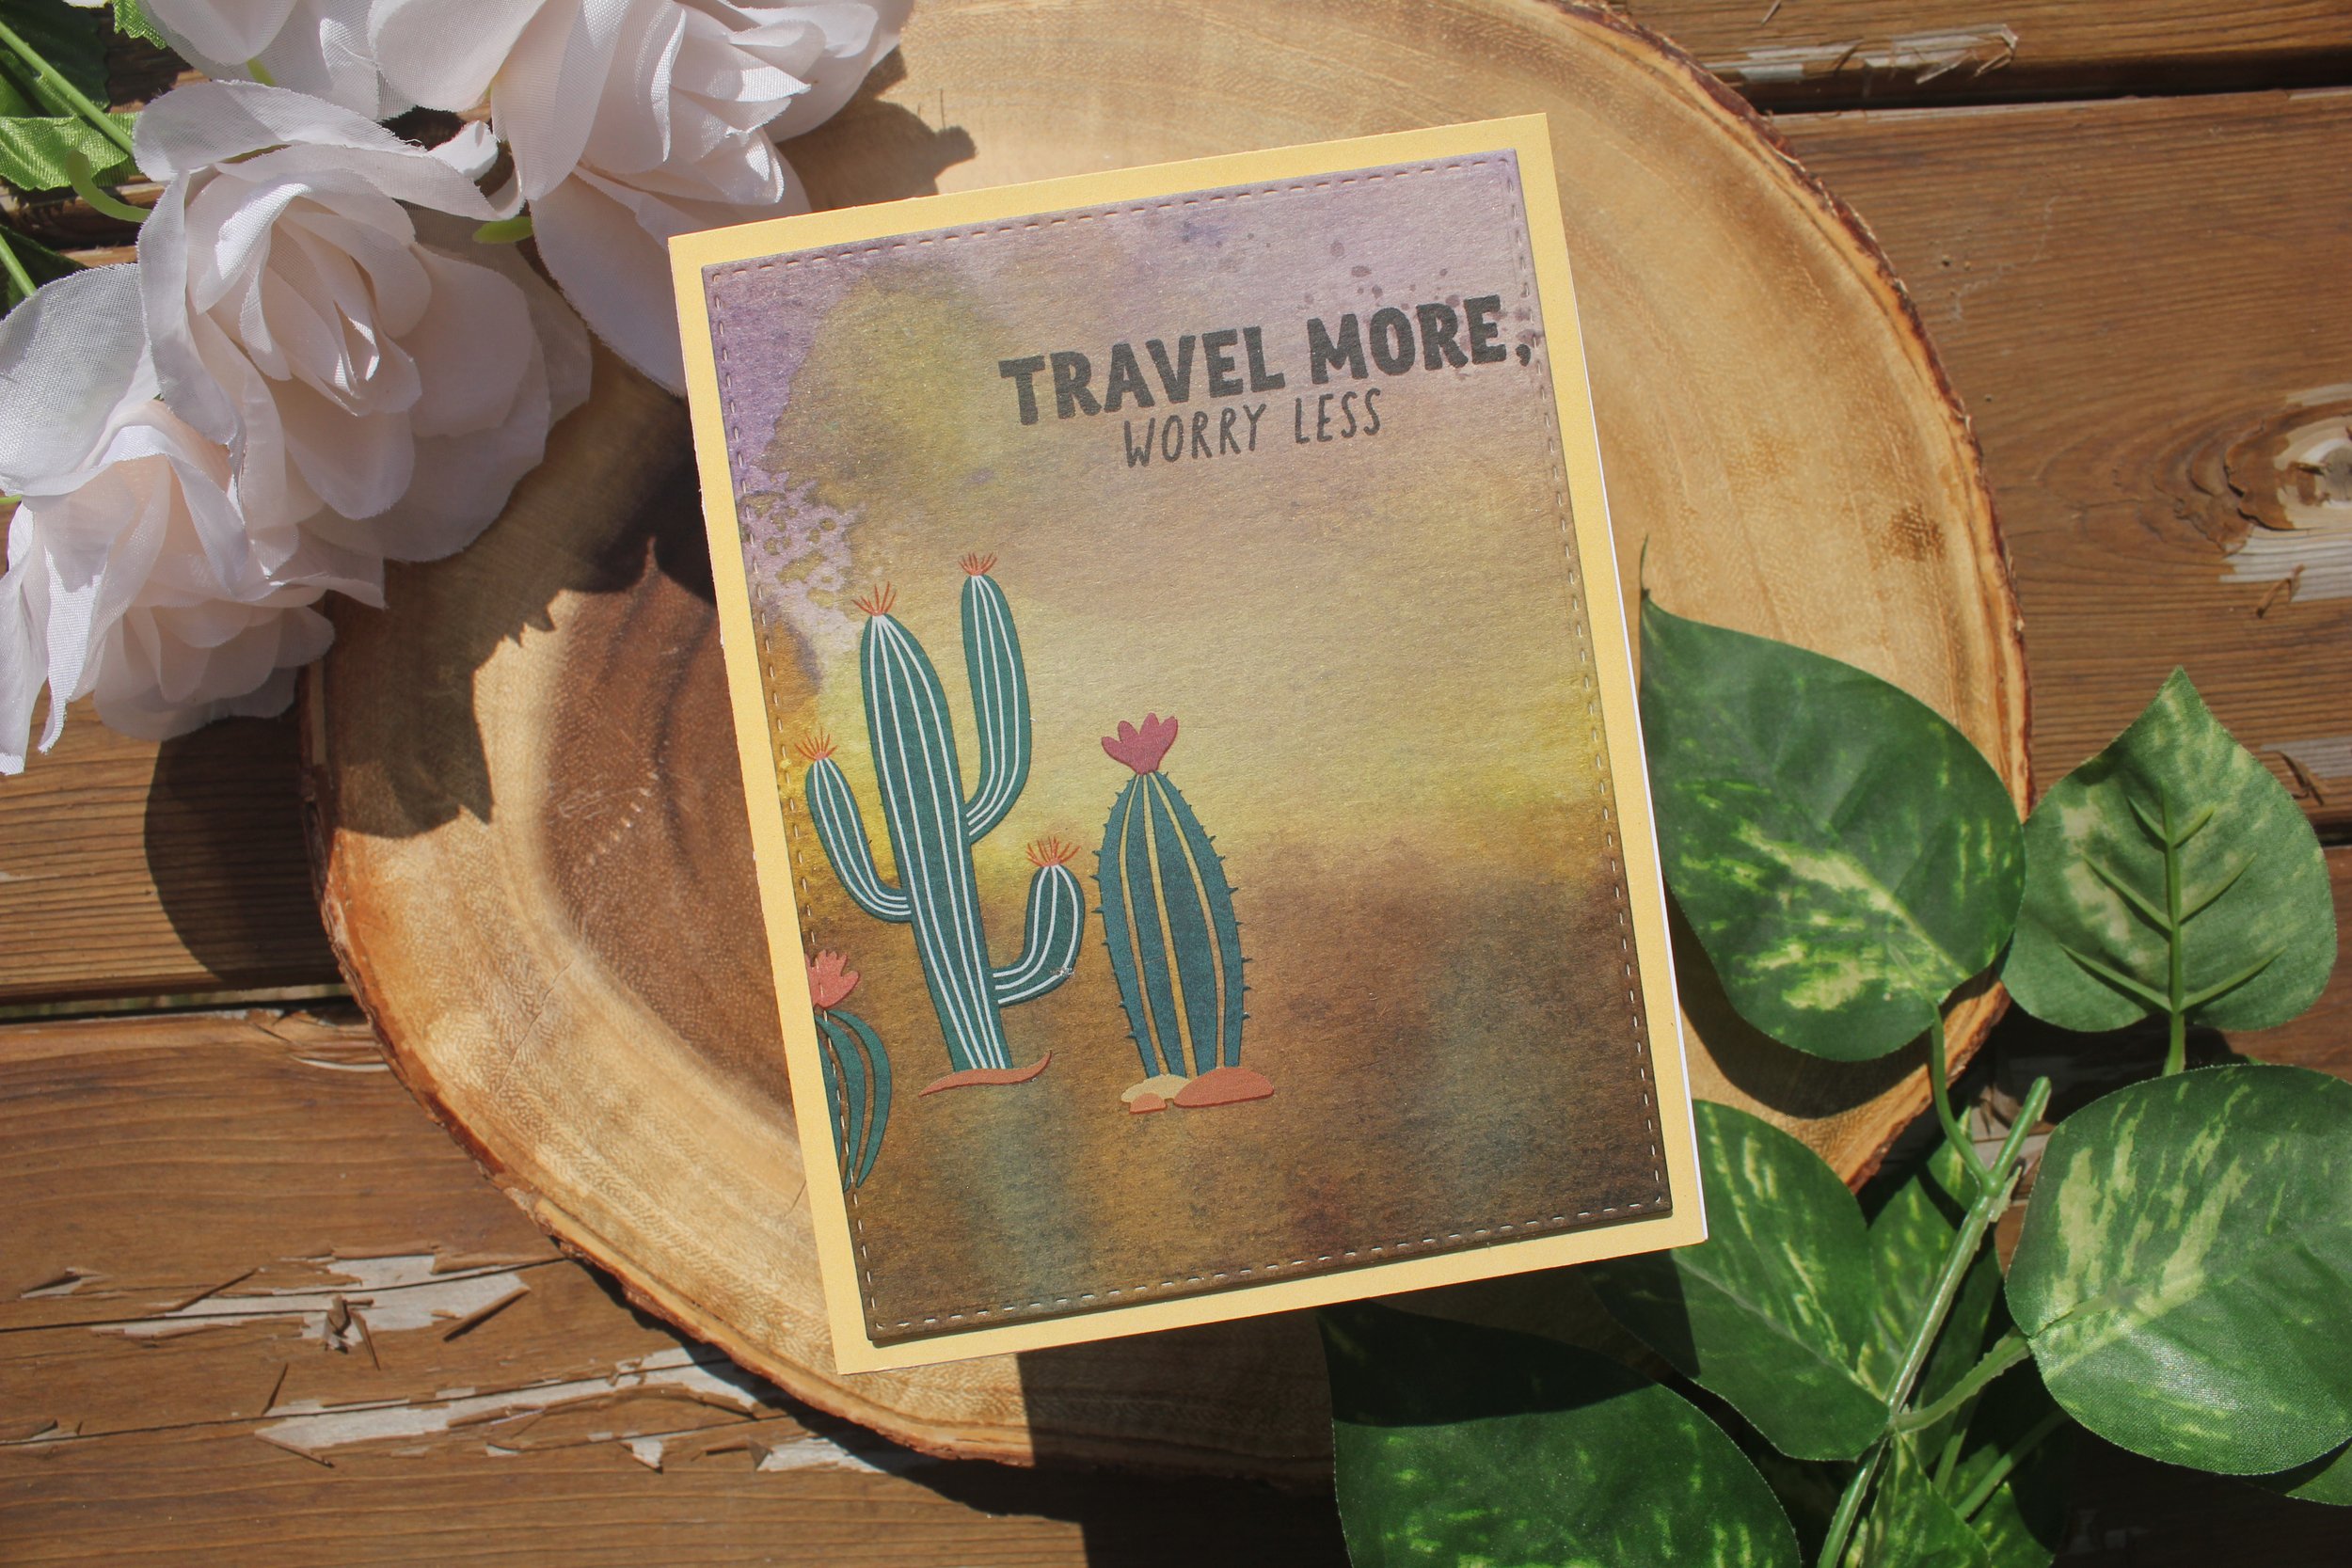
For these next two cards, I used some old backgrounds that I created years ago by playing around with some Distress Oxide inks and the “smoosh” technique. (Pressed the Oxide inks onto a craft mat, then sprayed with water and then tapped a piece of watercolour paper (which had also been sprayed with water) into the watery ink. The cacti are rub ons that were included with the kit. I stamped the greeting on top using some Versafine ink.
This card was simply made by adding the rub ons to a small square of black cardstock which had been spattered with some white ink and left to dry for about 10 minutes.
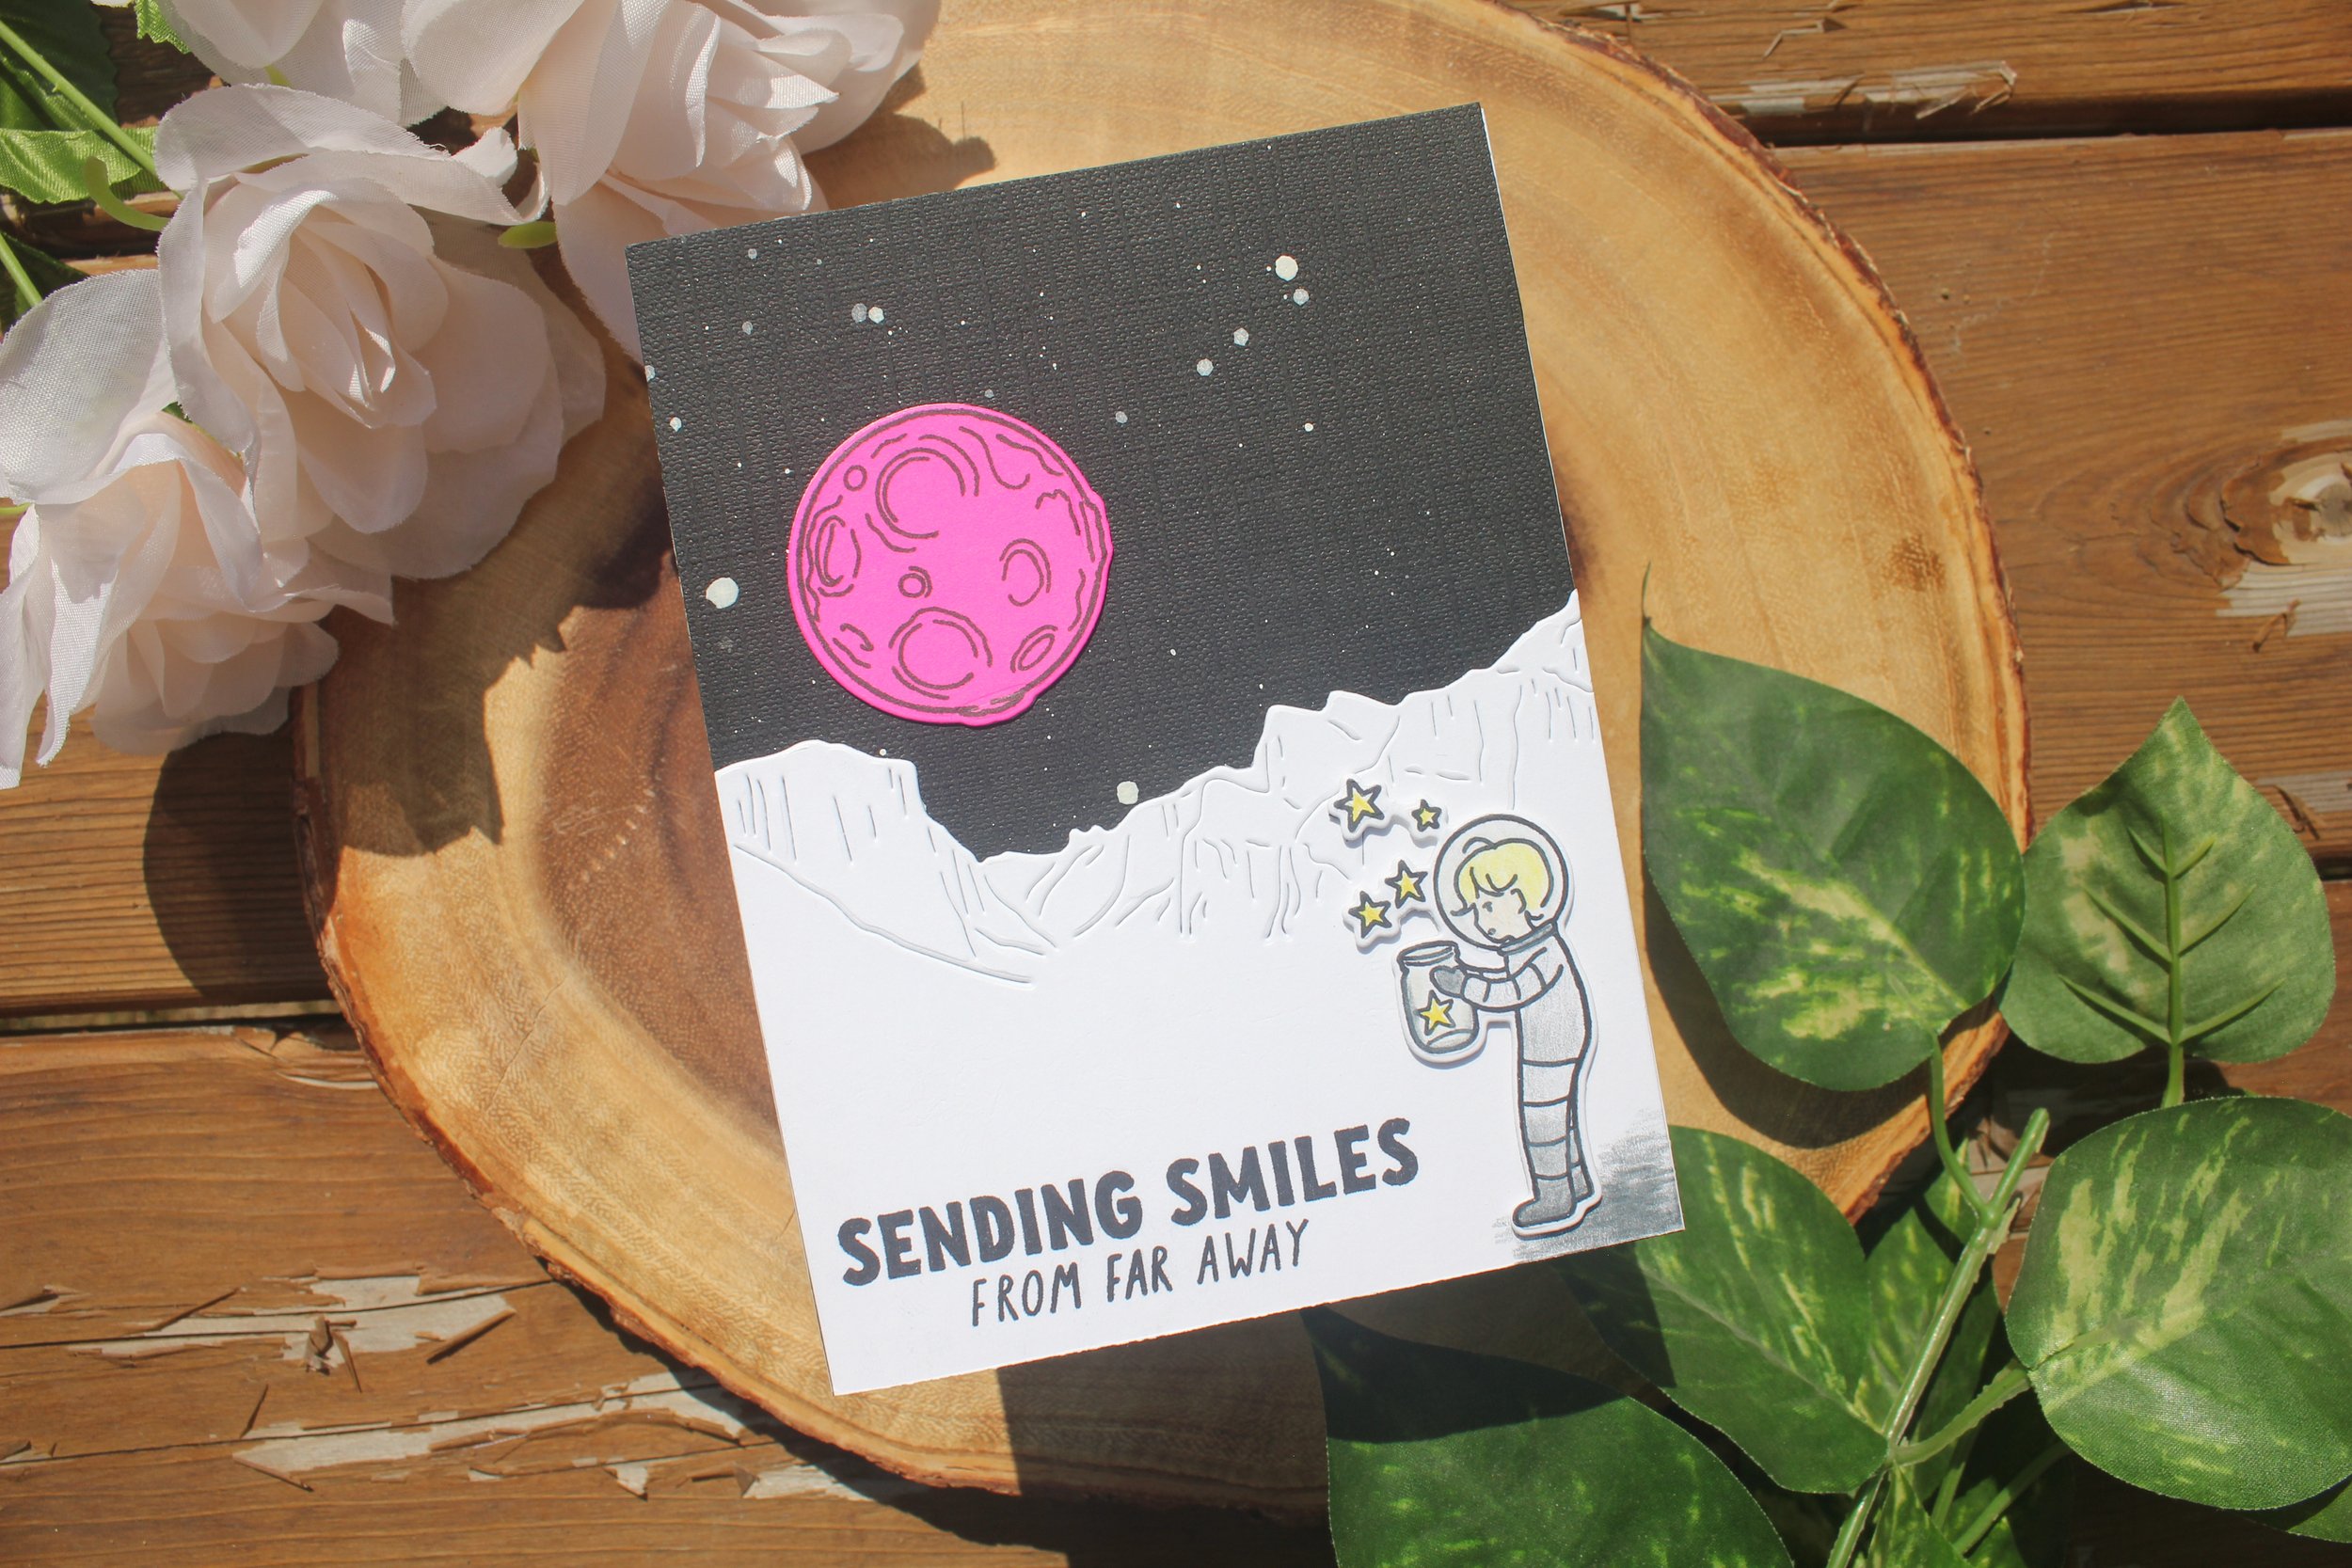
The last card was made by using the same ink spattered cardstock as a background, adding the butte die cut (cut out of white paper) and then adding two die cuts from last December’s (2022) My Monthly Hero kit. The astronaut was coloured with pencil crayons and the moon was stamped onto hot pink cardstock for something different.
I hope you liked these! Check out the video here:


